Raspberry Pi Pico 1591B Relay Board

$19.95

Brand:

  • BC Robotics
Availability: Low Stock - Only 1 Remaining

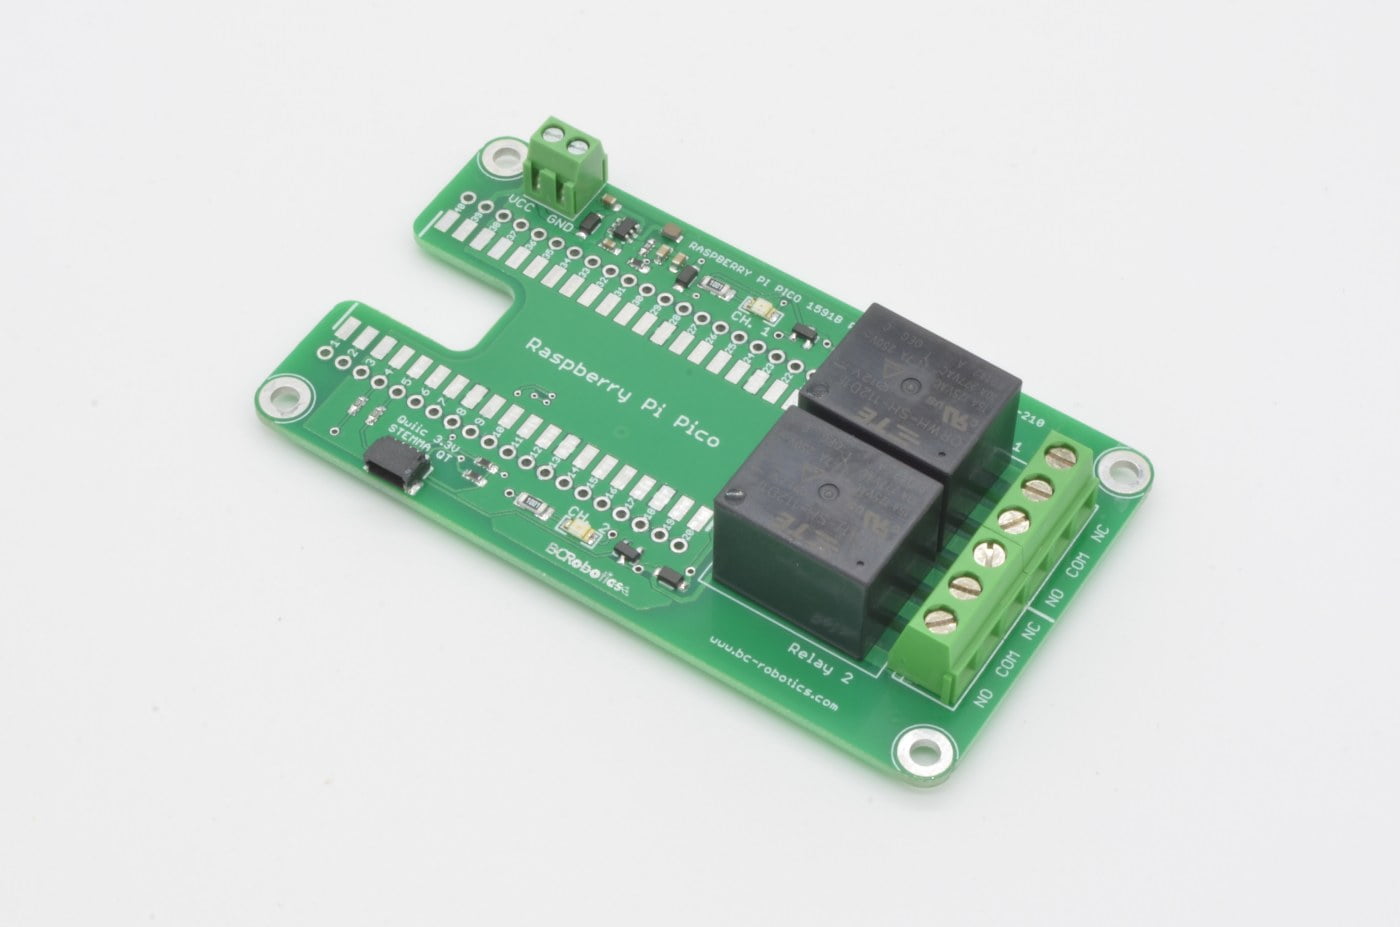
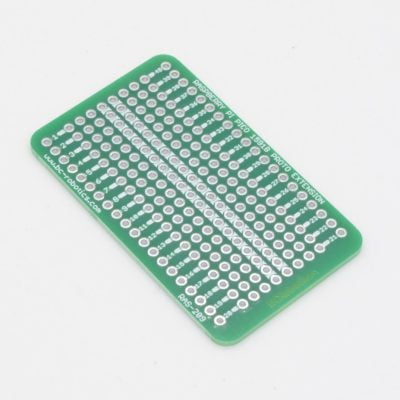
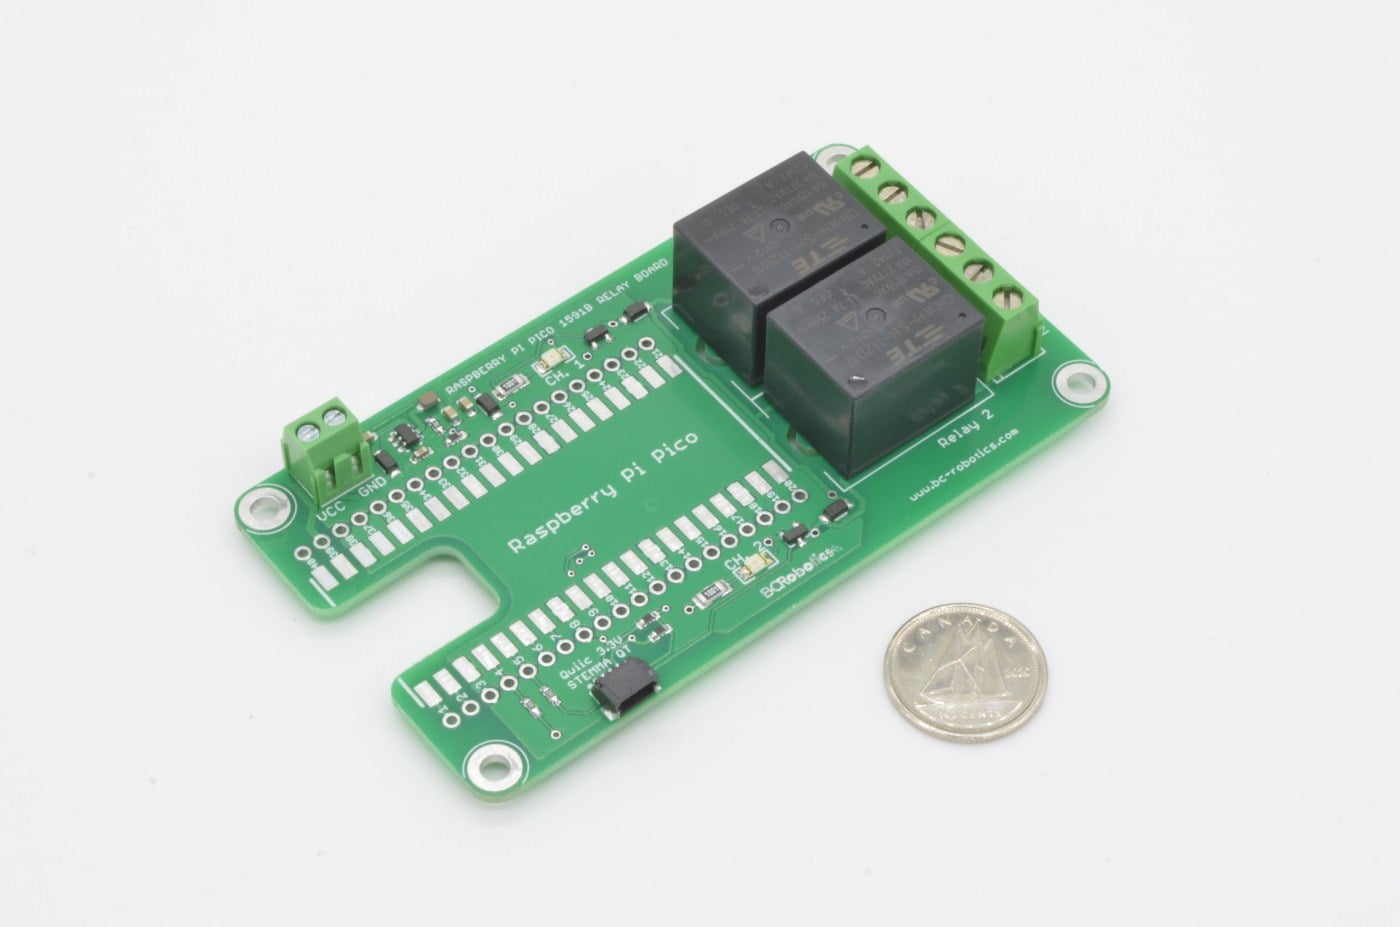
The Raspberry Pi Pico 1591B Relay Board is an all-in-one two channel relay module and power converter for the Raspberry Pi Pico and Pico W. This board allows the Pico to operate with 12V power and switch higher voltage / higher current devices from a compact, easy to mount, package.

Available

SKU: RAS-210 Manufacturer: BC Robotics Inc. Mfg Part Number: RAS-210 Category: Tags: , ,

Description

The Raspberry Pi Pico 1591B Relay Board is an all-in-one two channel relay module and DC power converter for the Raspberry Pi Pico and Pico W. This board allows the Pico to operate within a 12V system and switch higher voltage / higher current devices from a compact, easy to mount, package.

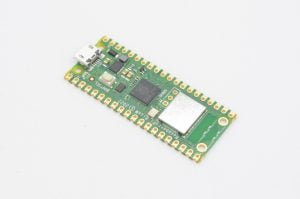
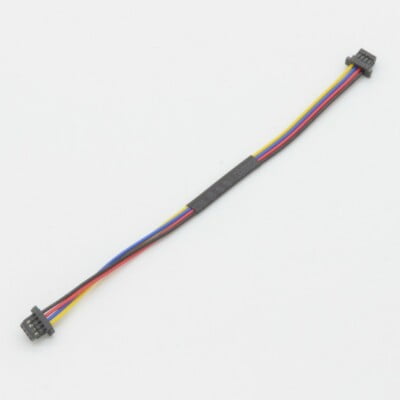
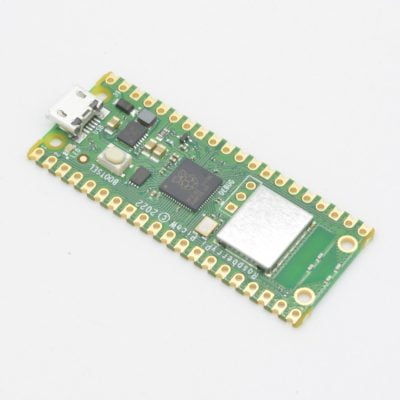
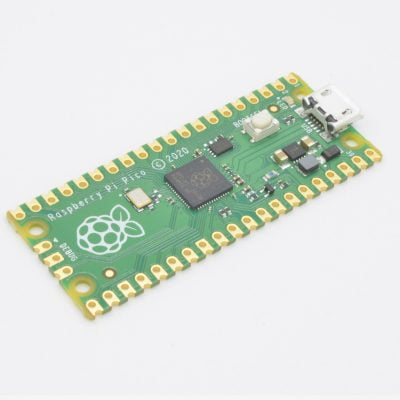
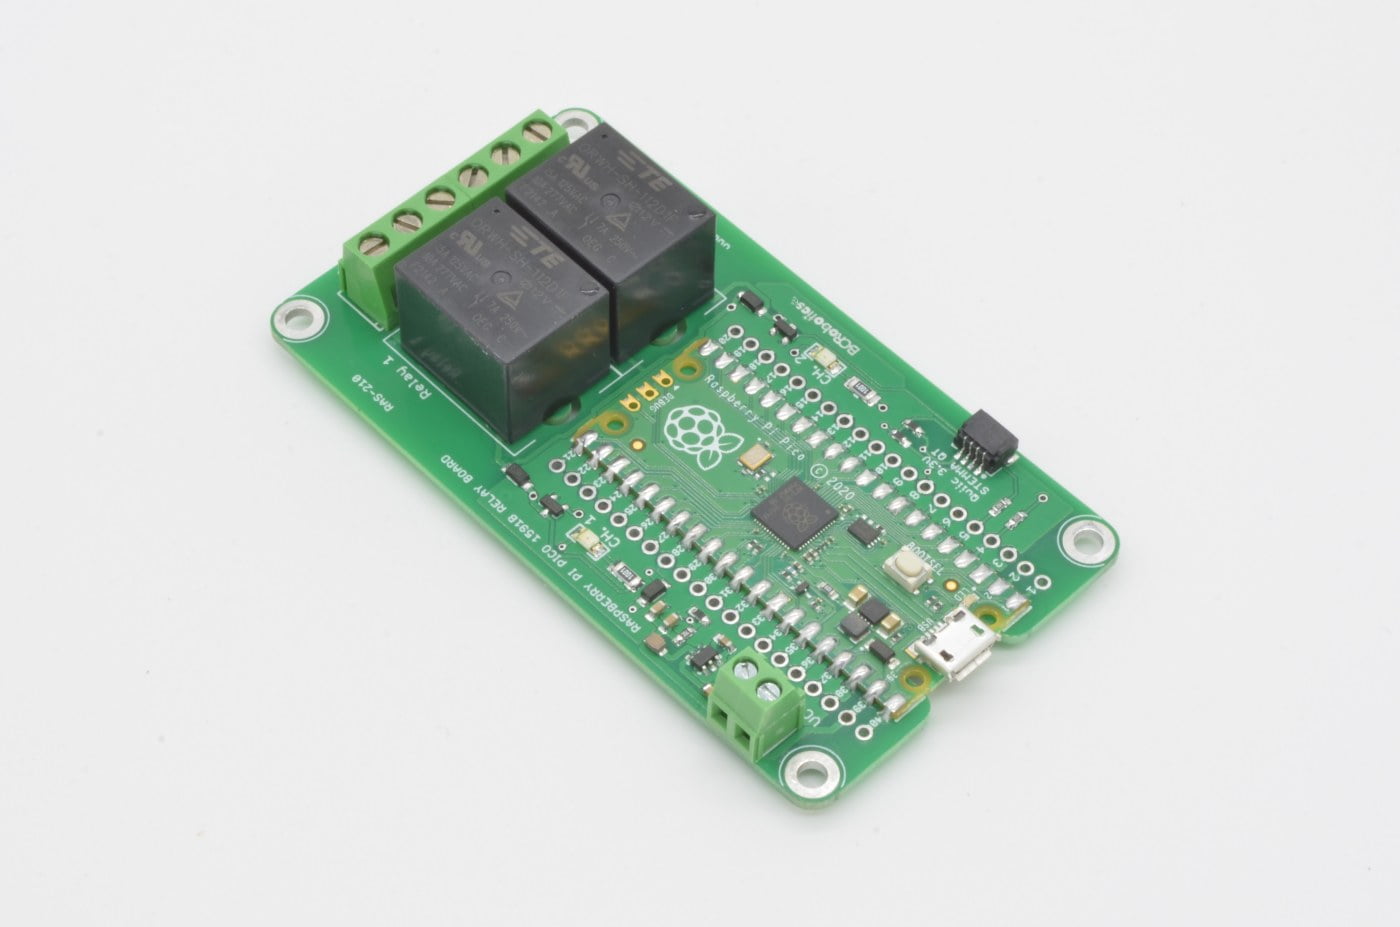
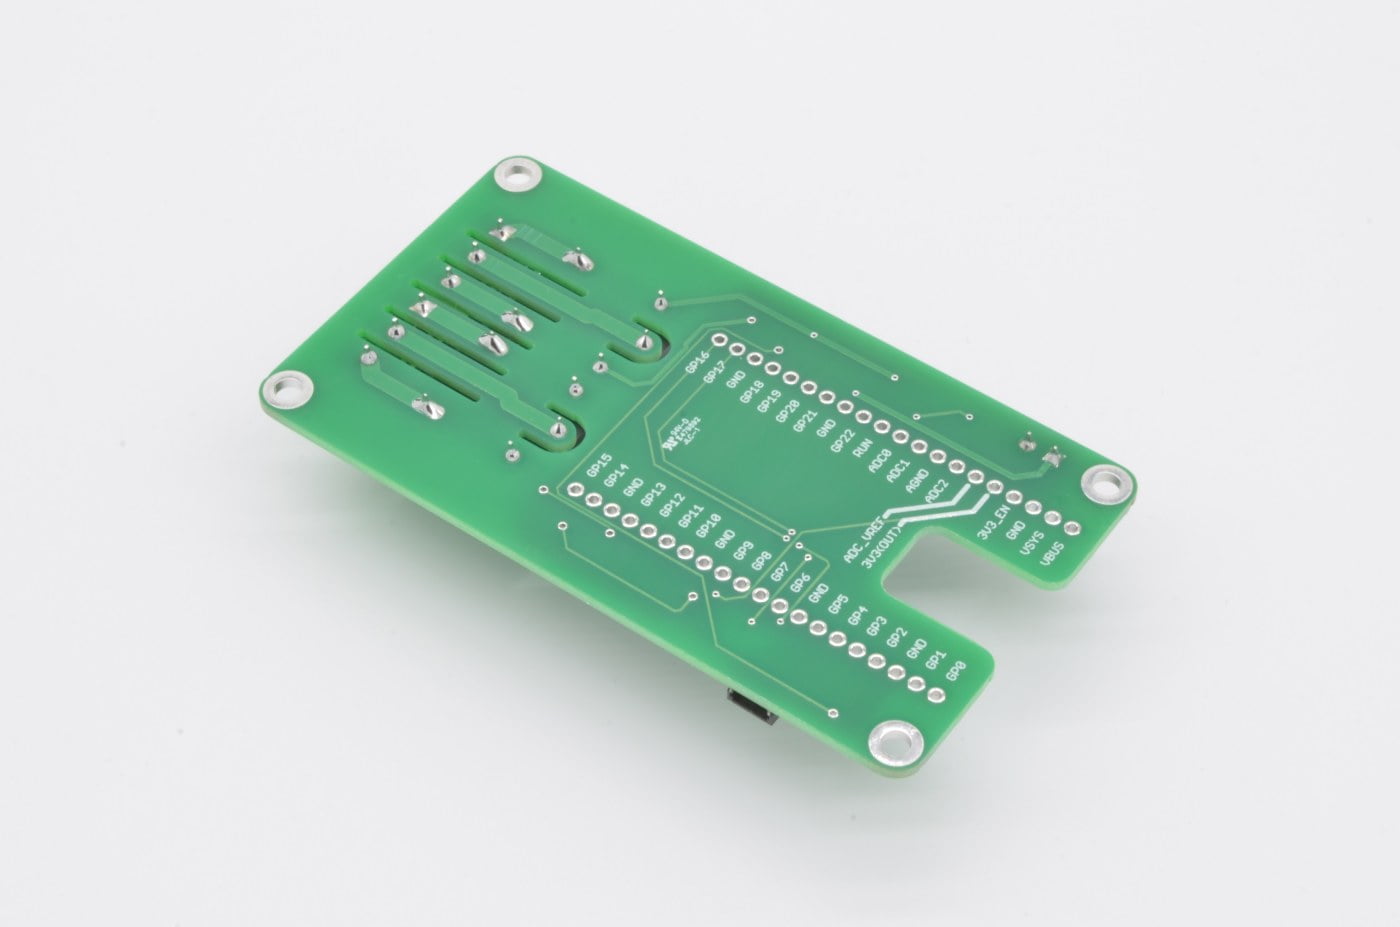
The Pico 1591B Relay Board is compatible with both the Raspberry Pi Pico W and the standard Raspberry Pi Pico making it ideal for IoT applications or automation projects. The board uses GPIO pins 2 and 3 to control the two relays, but breaks out all additional pins in easy to access 0.100ā€ / 2.54mm breadboard pitch through holes. To further extend functionality, we have also included a Qwiic / STEMMA QT connector, allowing any compatible breakout board or sensor to connect to the board.

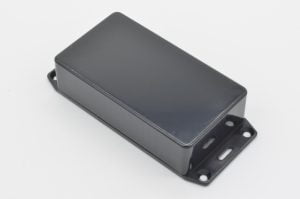
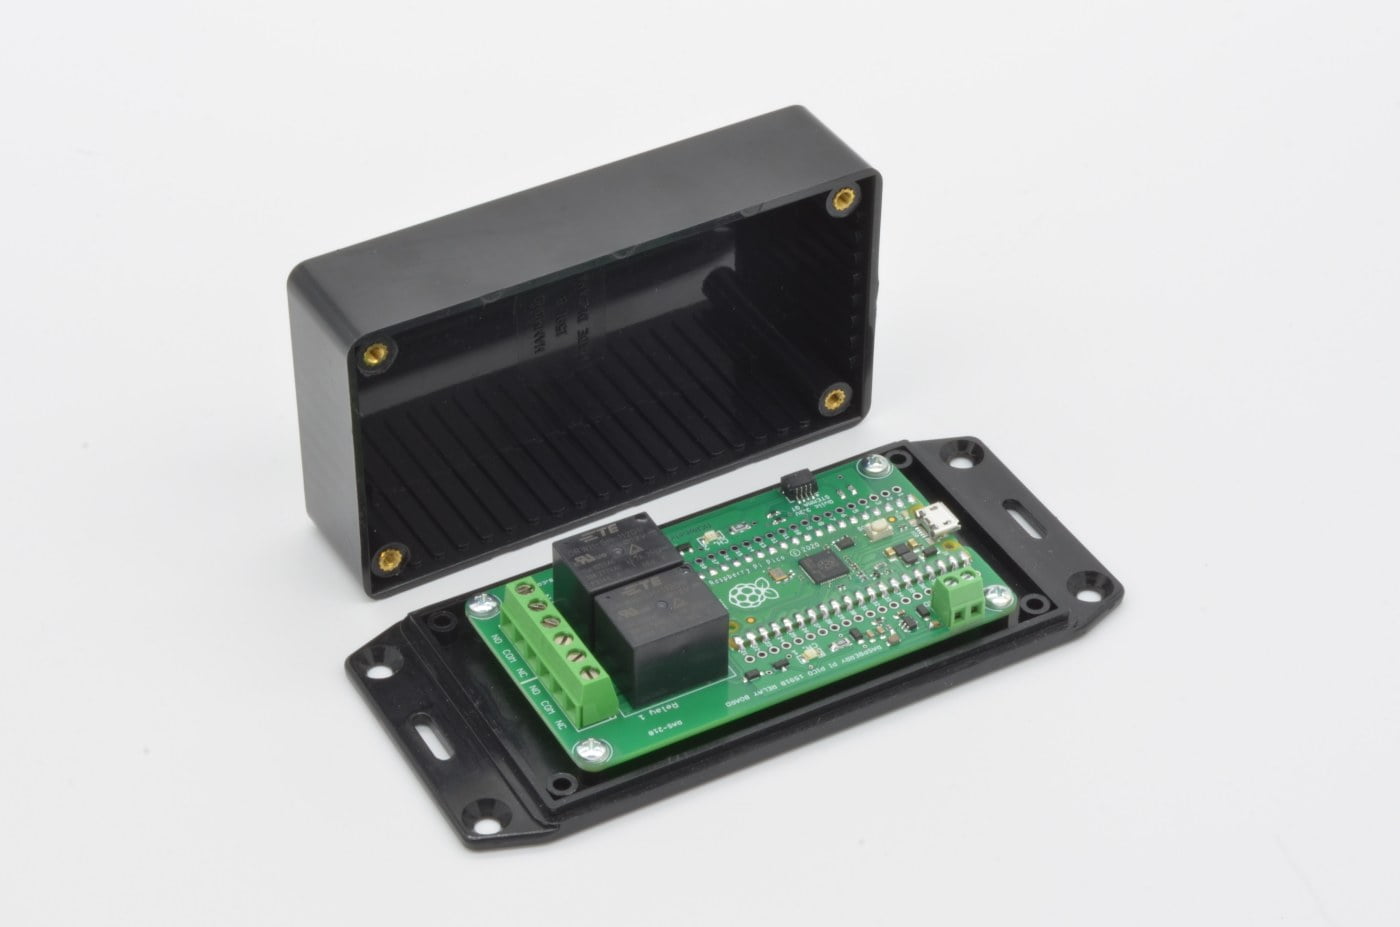
The Pico 1591B Relay Board is designed to fit in a standard Hammond 1591B enclosure. Power is supplied through the two pin screw terminal, while Common, Normally Open, and Normally Closed relay contacts are brought out for each of the relays in the 6 pin screw terminal. The Raspberry Pi Pico is connected using the castellated edges along the Pico, these are easily soldered with a conventional soldering iron. SMD Soldering Guide: https://learn.adafruit.com/adafruit-guide-excellent-soldering/surface-mount

Please Note:Ā Raspberry Pi Pico is not included.

Features

  • Input Voltage: 9 – 15VDC
  • Qwiic / STEMMA QT connector
  • Pico and Pico W compatible
  • 10A/250VAC per relay channel
  • 8A/30VDC per channel
  • Relay Contact Configuration: 1 Form C
  • LEDs to indicate activated relays

Package Contents

  • 1 x Raspberry Pi Pico 1591B Relay Board

May We Also Suggest…

Flanged Enclosure – 112 x 62 x 31mm
Price: $10.95
 
Qwiic / STEMMA QT Cable – 100mm
Price: $2.95
 
Qwiic / STEMMA QT Cable – 50mm
Price: $2.95
 
Raspberry Pi Pico
Price: $8.95
 
Raspberry Pi Pico 1591B Proto Extension
Price: $3.95
 
Raspberry Pi Pico W
Price: $11.95


  Difficulty Level

Soldering Skill: Beginner
Prototyping Skill: Beginner
Programming Skill: Beginner

  Product Certifications

  Product Attributes

Weight: 42 g

  Warranty Policy

This product has a 30 Day Warranty from the date of delivery. The item must not be modified, abused, incorrectly hooked up, or used for purposes outside the original scope of design.

  Return Policy

This product is returnable Within 14 Days of delivery for a store credit. Item must be unopened, unused, and in re-saleable condition.

 
More Information:
For more information on our Warranty and Return Policies, please consult our   Terms of Service
 

Comments

  1. Michael Deraiche (verified owner)

    Hi Chris

    I would like to know what amperage can I put into the 12 volt 2 pin screw connector on this board. Can it handle 5 amps? I just applied 12 volts onto the 12 volt relay 2 pin screw connector feather wing that I just bought off you and it was working for about 2 minutes then it smoked (Only the relay board smoked). It was connected to my adafruit feather Blu fruit board. So I’m thinking it can handle only so much amperage also. What is the most amperage that can be applied to these boards? Thank you Mike Deraiche

    • William @ BC Robotics

      Hi Michael,

      Can you contact us at support@bc-robotics.com – we will need to see photos of what is going on…. It sounds like something is wired incorrectly to the board.

      For both the 1591 Relay and the Feather Relay the two pin connector is only for powering the board – they have nothing do with your switched loads. There should never be 5A or anywhere close to that pulling through the 2 pin connector.

Add a comment

Your email address will not be published. Required fields are marked *