In this tutorial short, we will guide you through the process of setting up the Arduino IDE to program the ESP8266 series of boards. The ESP8266 is a popular Wi-Fi enabled microcontroller that can be used for a wide range of projects. By the end of this tutorial, you will have the Arduino IDE set up so you can begin programming your own ESP8266 projects.
Step 1: Install The Arduino IDE
Before we start, we need to get the Arduino IDE (Integrated Development Environment) installed. We are using version 1.8.19 for this tutorial, however if you are using version 2.0 or newer, the instructions remain the same, but the dialogues many look a little different.
Once it is installed, we need to add an additional Board Manager URL to the Arduino Board Manager. Basically, we are going to tell the Arduino Board Manager to look at an additional location so that the program can automatically install the ESP8266 support – don’t worry, it sounds much more complicated than it is.
Start by opening the Arduino IDE.In the top menu navigate to: File -> Preferences. This will open the Preference dialogue. Click the little window button (highlighted in red in the image) to add additional URLs.
25%
Step 3 - Board Manager URLs
On opening the Additional Board Manager URL window, you will see a small text box with 1 (or more) addresses. Don’t remove anything! This is just a simple list of addresses, one per line. On a new line add the following URL:
Once that has been added, Click “OK” and close the Preferences window.
37.5%
Step 4 - Arduino Boards Manager
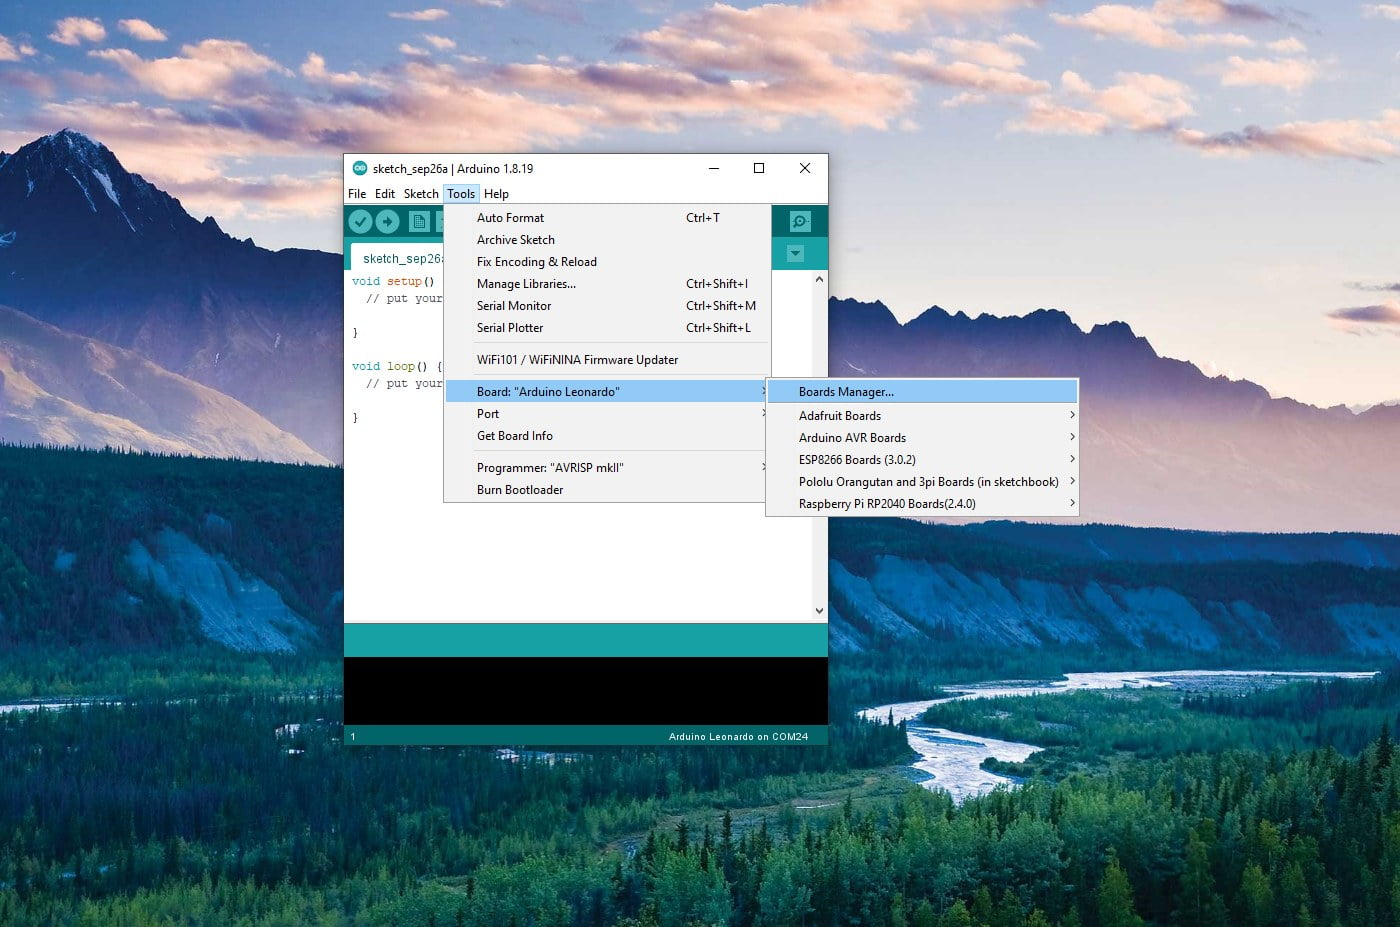
Next we are going to add the ESP8266 to the Arduino Boards Manager, this will enable the ESP8266 to be programmed using Arduino. In the top menu navigate to: Tools -> Board -> Board Manager. This will open the Board Manager Dialogue.
50%
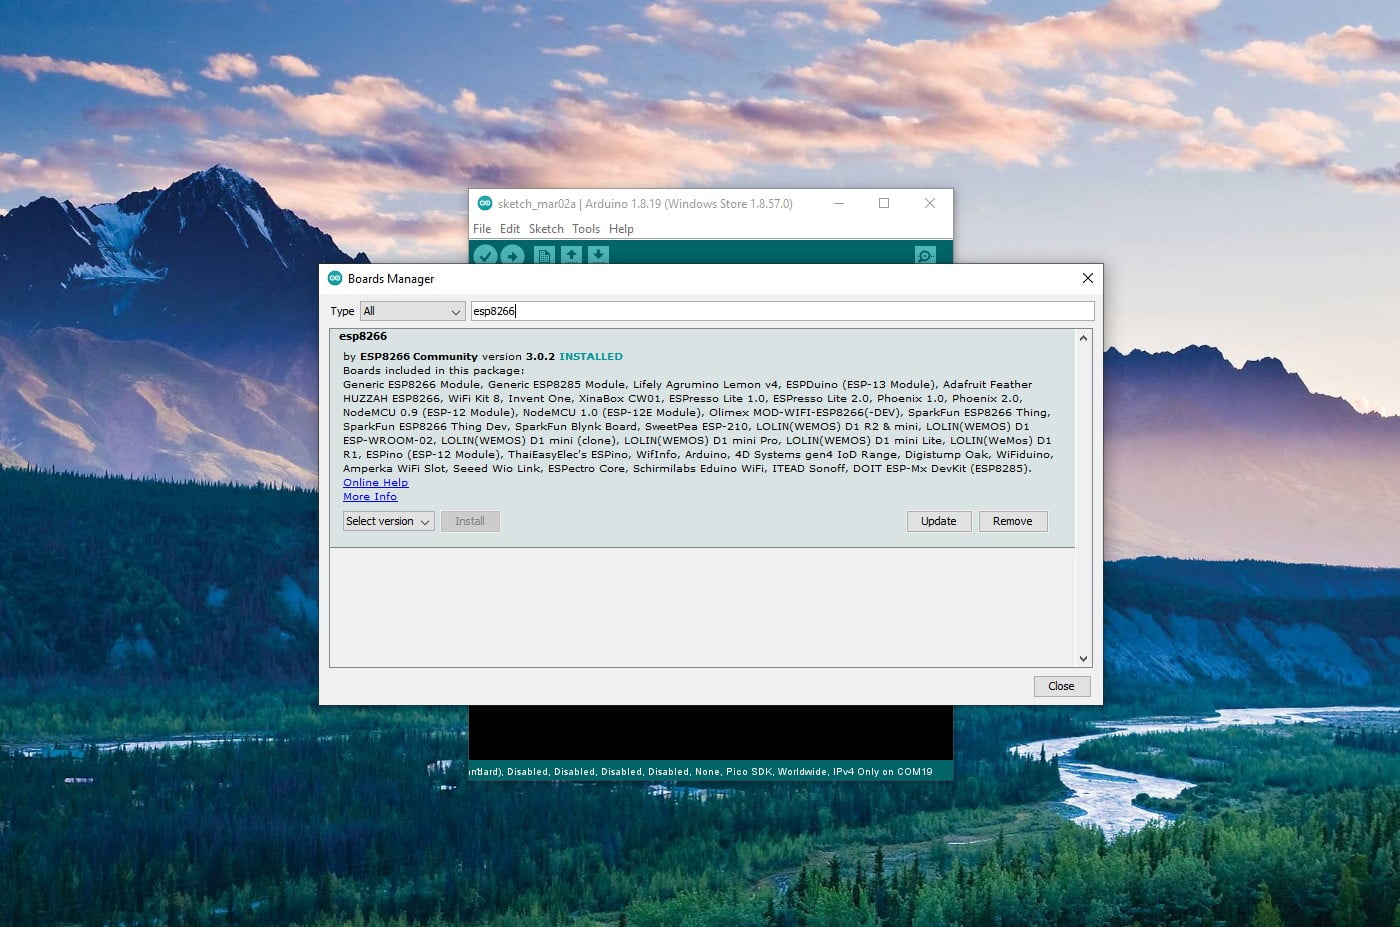
Step 5 - Add ESP8266
Now we can add the ESP8266 library – type “esp8266” into the search bar, and the library ESP8266 Library will appear. Click Install in the bottom right corner and let it do its thing! Once completed, click “Close”. We are all done the setup!
62.5%
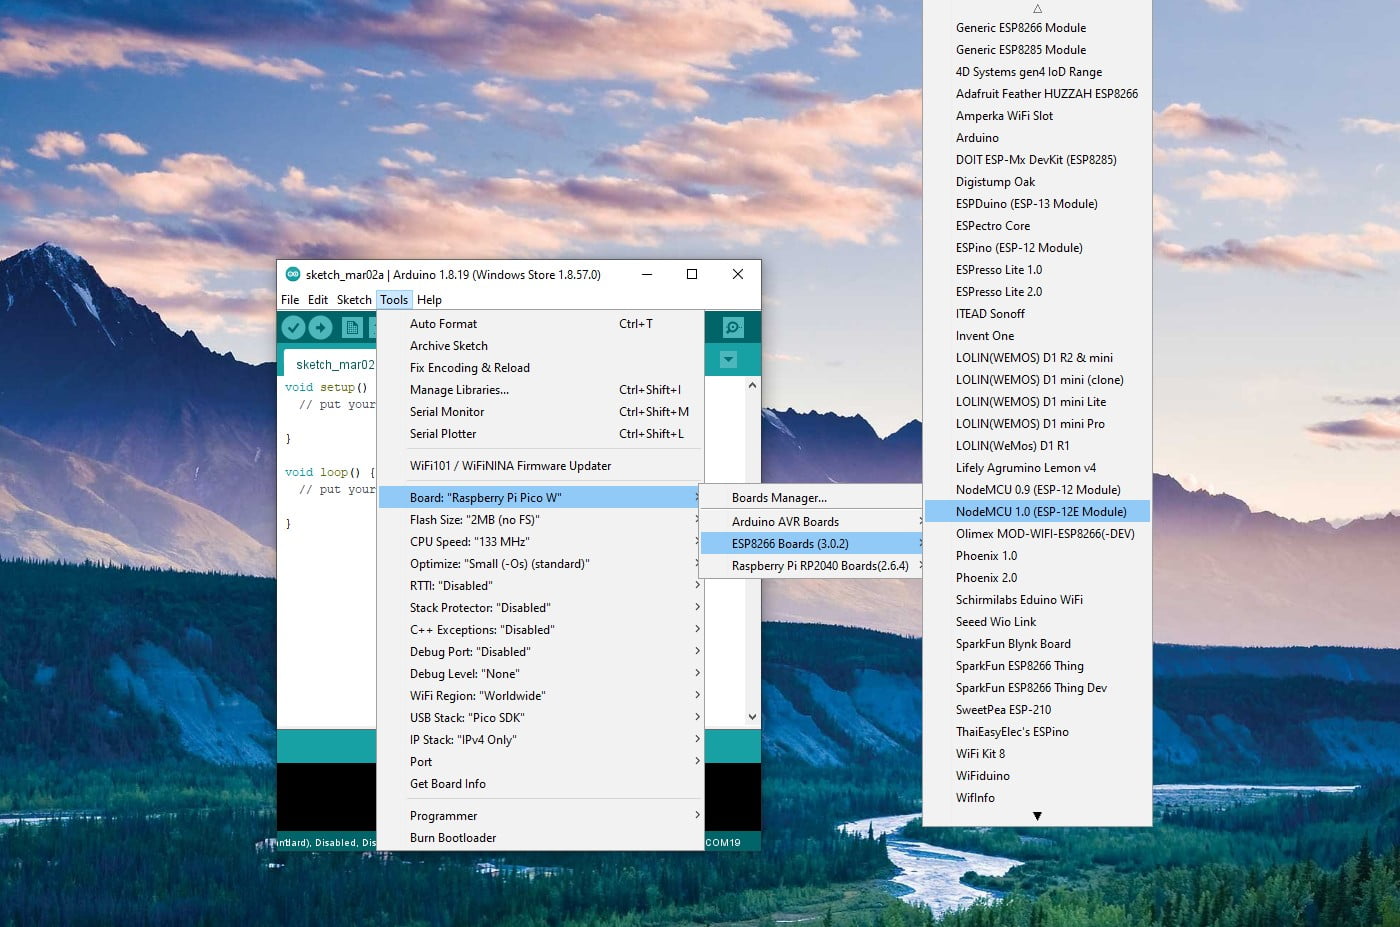
Step 6 - Select Your Board
With everything set up, we can now select the appropriate ESP8266 from the boards list. It will take a moment, but once the board has been selected, you can then proceed to look at the board options.
75%
Step 7 - ESP8266 Configuration Settings
Unlike plain Arduinos, there are quite a few settings that can be configured with the ESP8266. These settings are uploaded with your code. From here you can set the Flash memory size, overclock (or underclock) the CPU, and a variety of other settings. For the most part, basic projects can just use the default settings.
87%
Step 8 - Moving Forwards
Due to the sheer number of different boards using the ESP8266, the next steps will be specific to the board you are working with. Some may require additional components and special cables to program while others may be as simple as plugging in a USB cable. For specific instructions on each board, be sure to check out the manufacturer’s tutorial!
100%
One thought on “Configuring Arduino IDE for the ESP8266”
JK
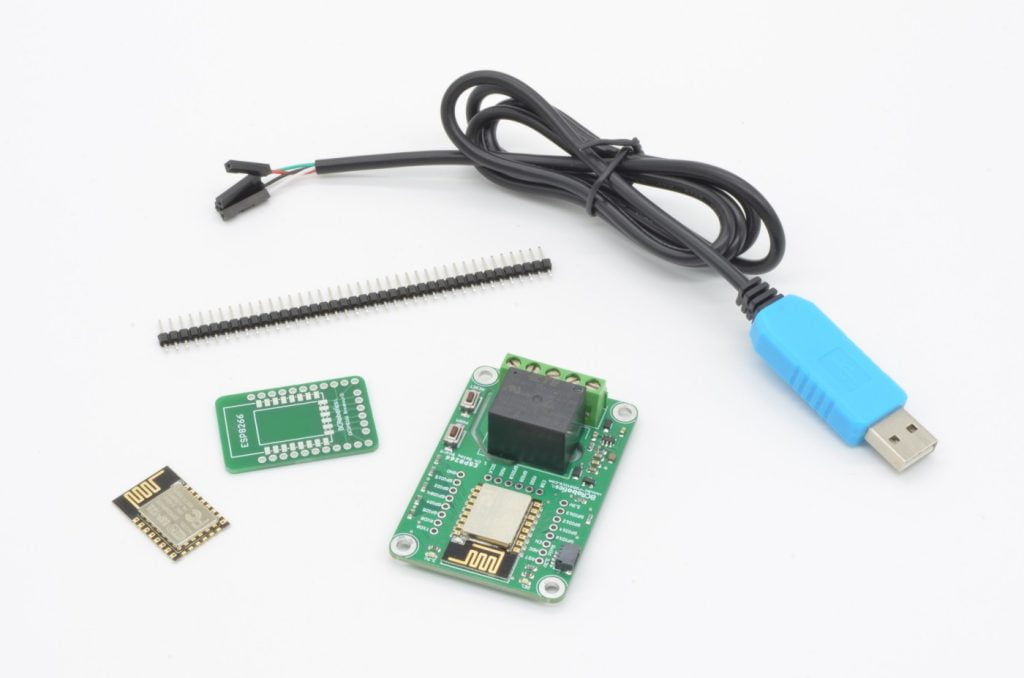
Is there a tutorial or schematic diagram for use with your ESP8266 1 channel relay module as shown in the image?


One thought on “Configuring Arduino IDE for the ESP8266”
JK
Is there a tutorial or schematic diagram for use with your ESP8266 1 channel relay module as shown in the image?