
Configuring Arduino IDE for the ESP8266
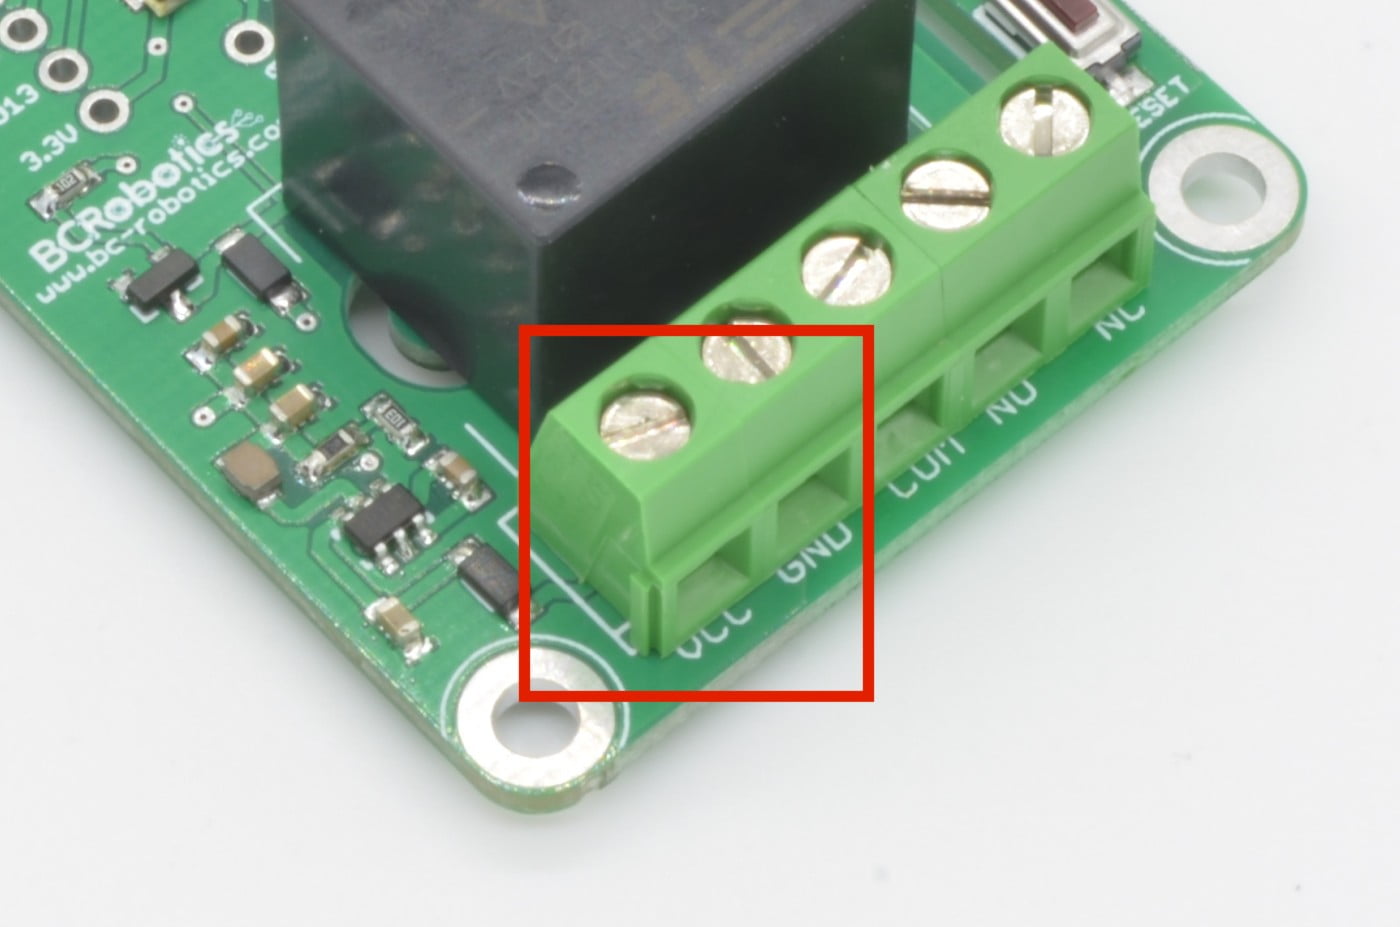
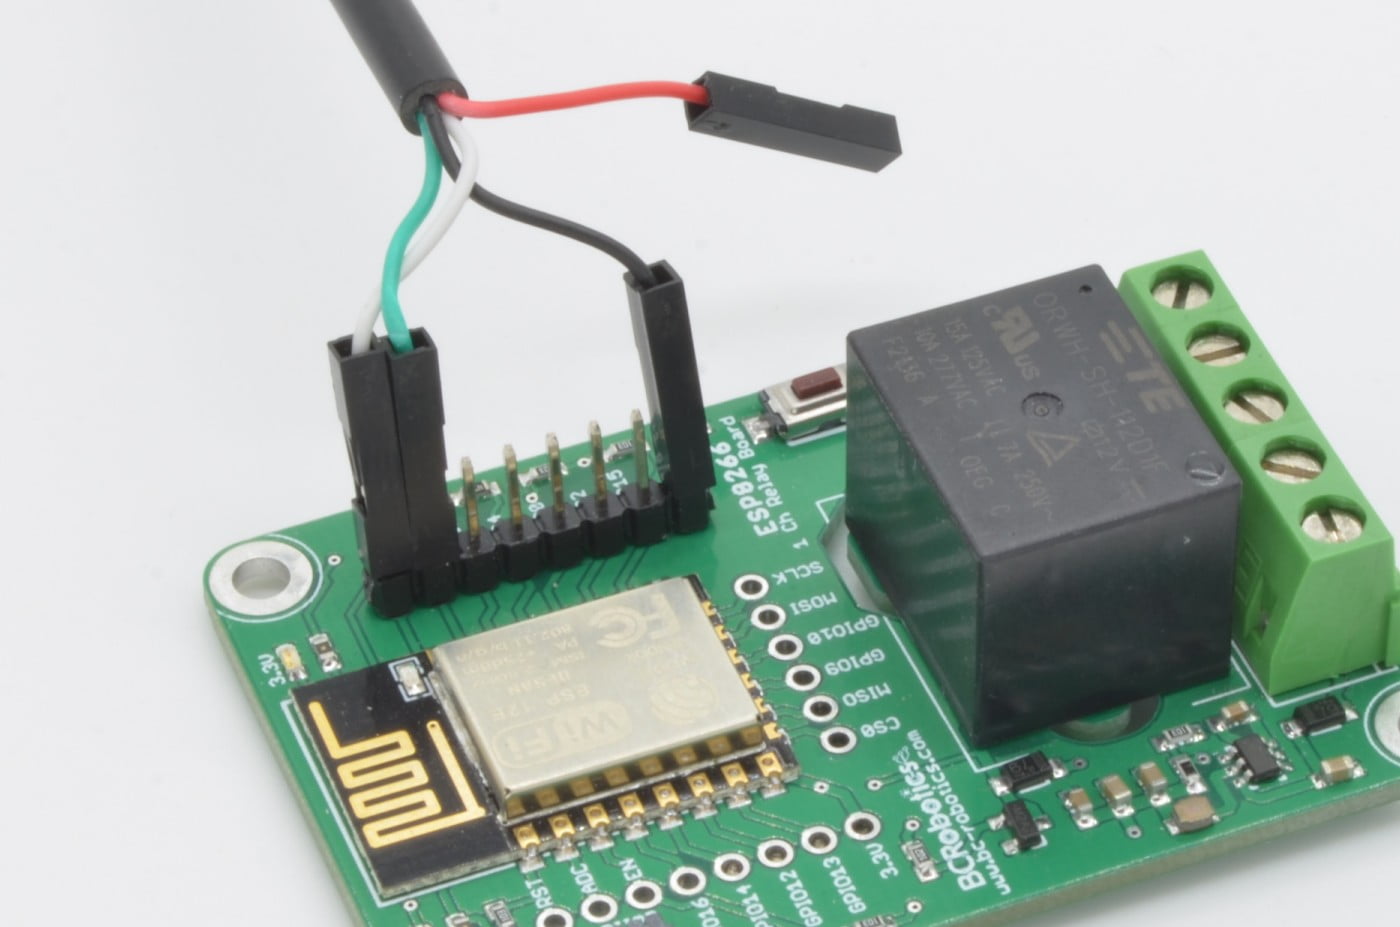
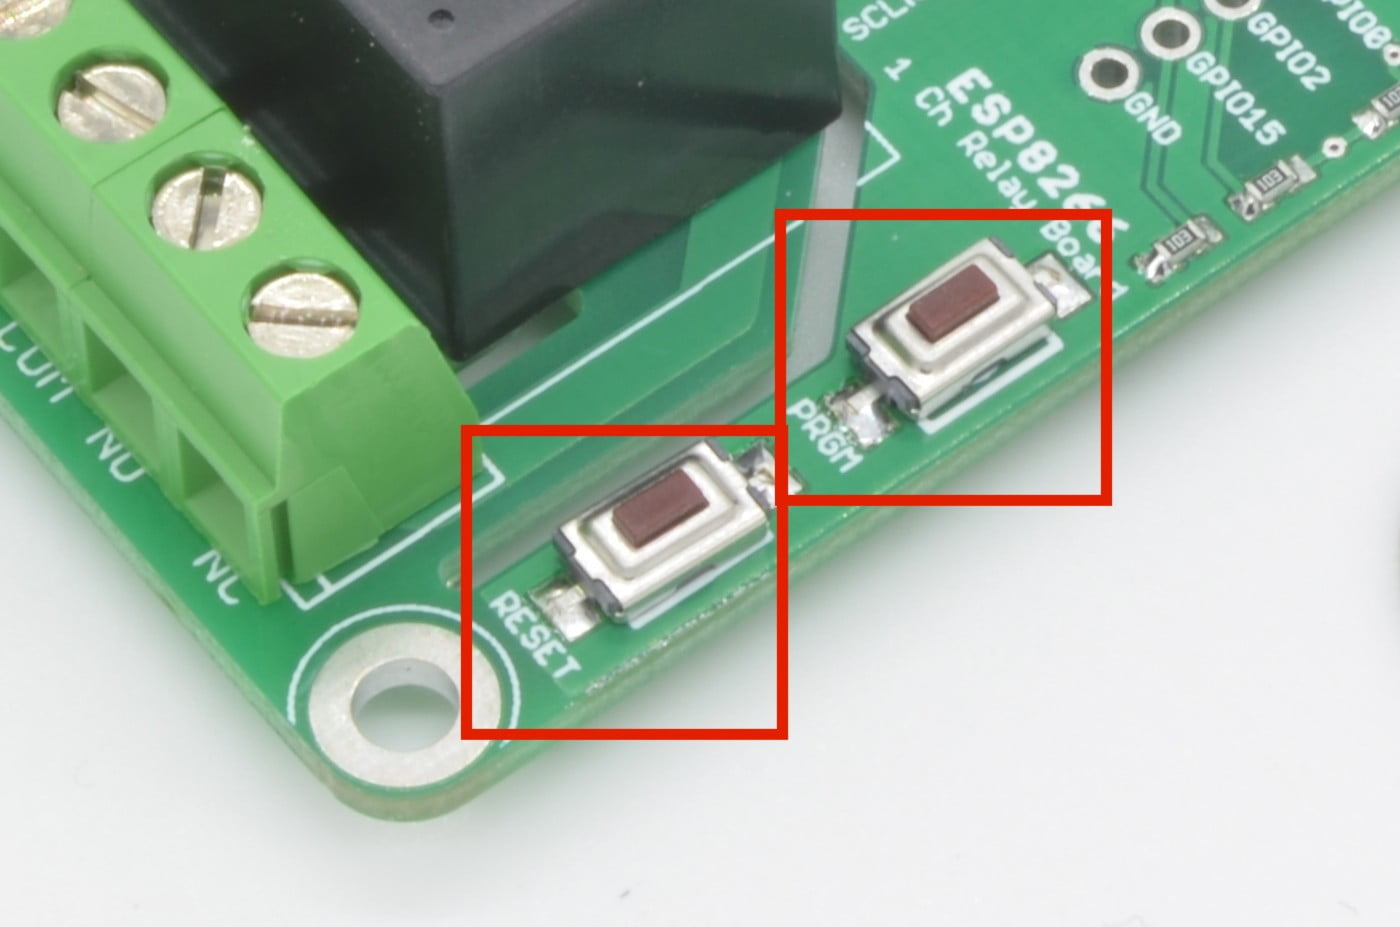
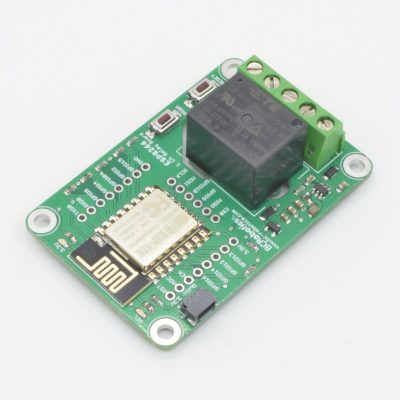
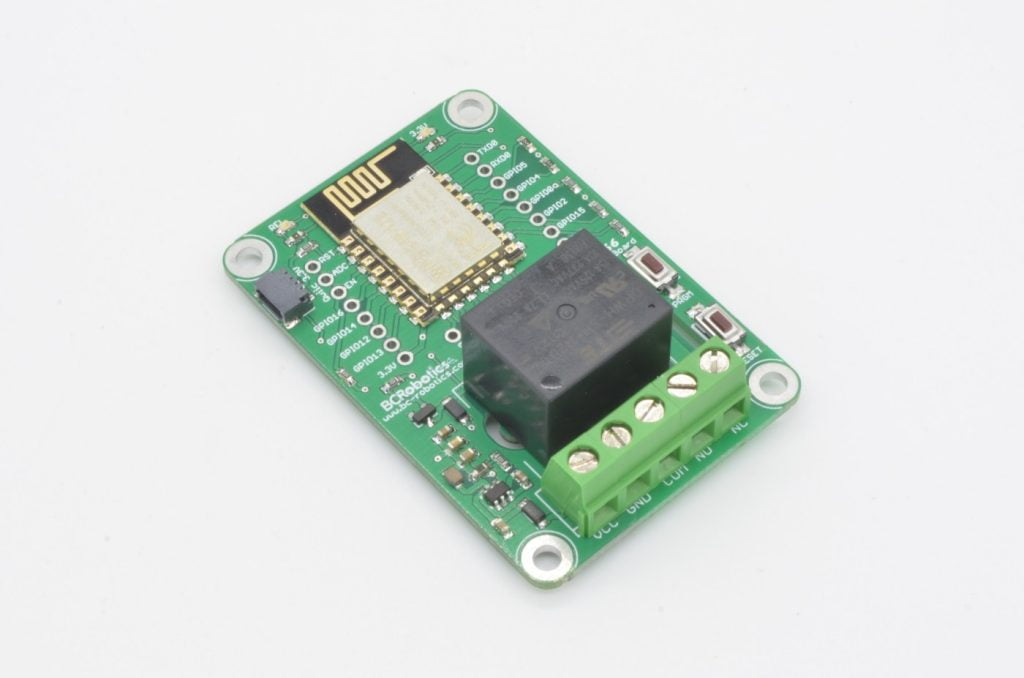
PRODUCT TUTORIAL In this tutorial short, we will guide you through the process of setting up the Arduino IDE to program the ESP8266 series
PRODUCT TUTORIAL In this tutorial short, we will guide you through the process of setting up the Arduino IDE to program the ESP8266 series