BC Robotics
1
My Cart
$24.95
-
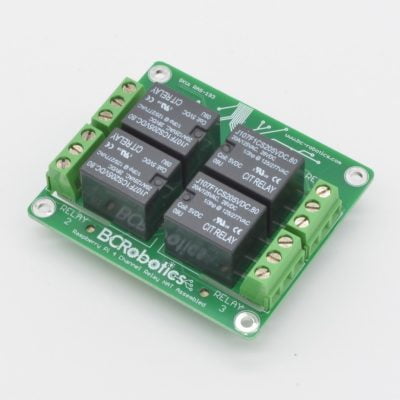
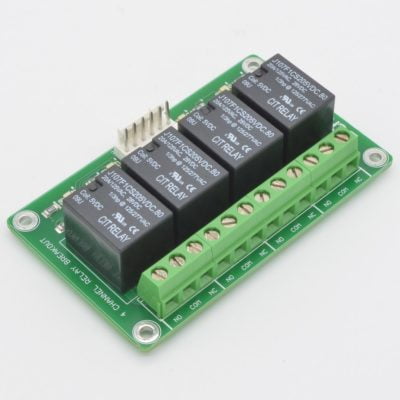
 Raspberry Pi 4 Channel Relay HAT - Assembled
1 × $24.95
Raspberry Pi 4 Channel Relay HAT - Assembled
1 × $24.95
Total:
$24.95


- Image
- SKU
- Rating
- Price
- Stock
- Availability
- Add to cart
- Description
- Content
- Weight
- Dimensions
- Additional information
- Attributes
- Custom attributes
- Custom fields